Doppler configuration 🌈
Why you need it?
Thanks to doppler you will be able to autoamtically mange your environment varialbes.
This starter have fully integrated doppler configuration, you just need to do few easy steps
Configuration
1. Sign up for the Doppler tool
a. Ideally, the account will be created by the client, the developer will be invited to participate in a workspace
2. Create a new workspace for the project.
a. Open a dropdown of the workspaces list:

b. Click +Create workspace button:
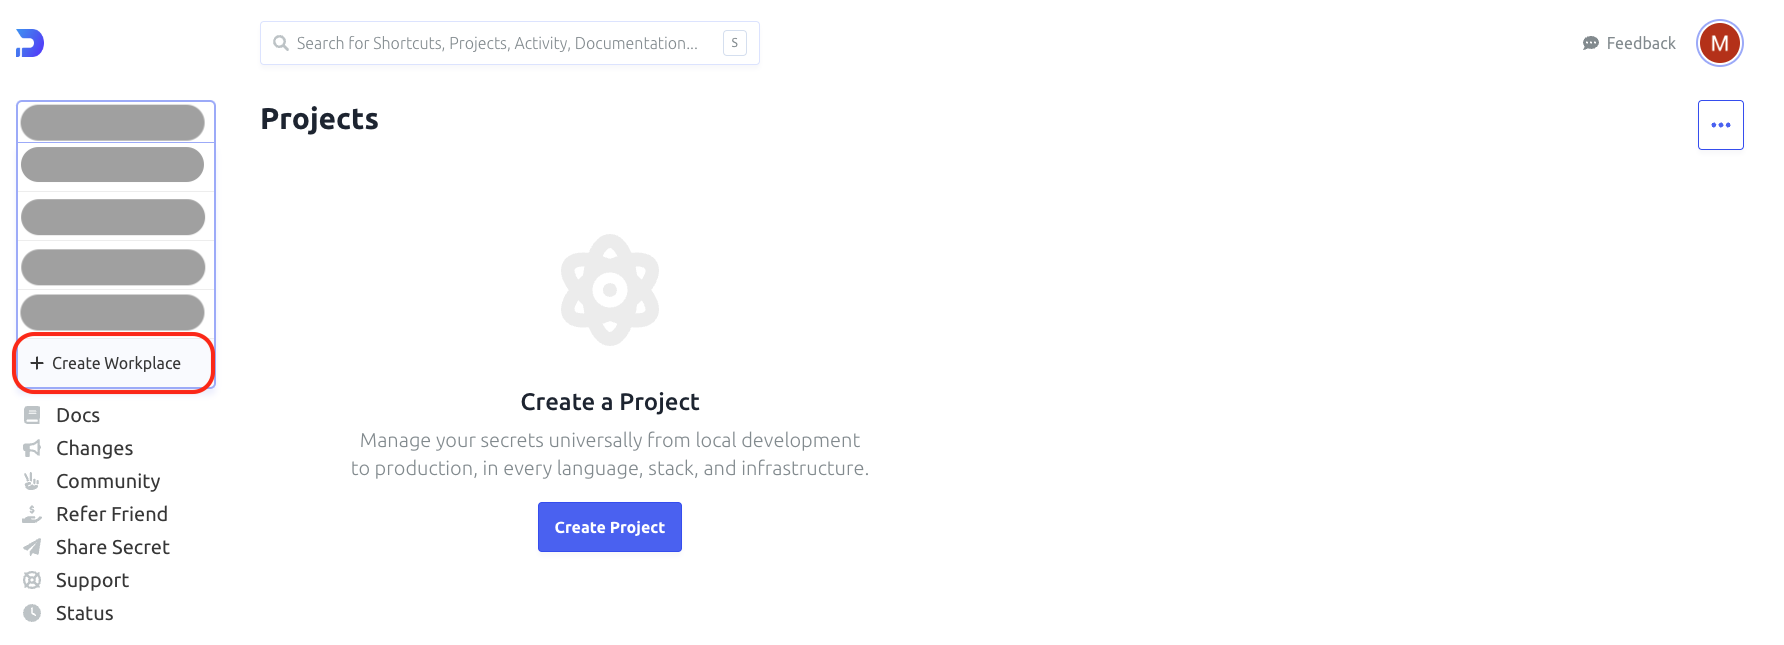
c. Fill in the workspace name:

d. Confirm Create Workspace → button

3. Create new project
a. In newly created workspace please click Create Project button
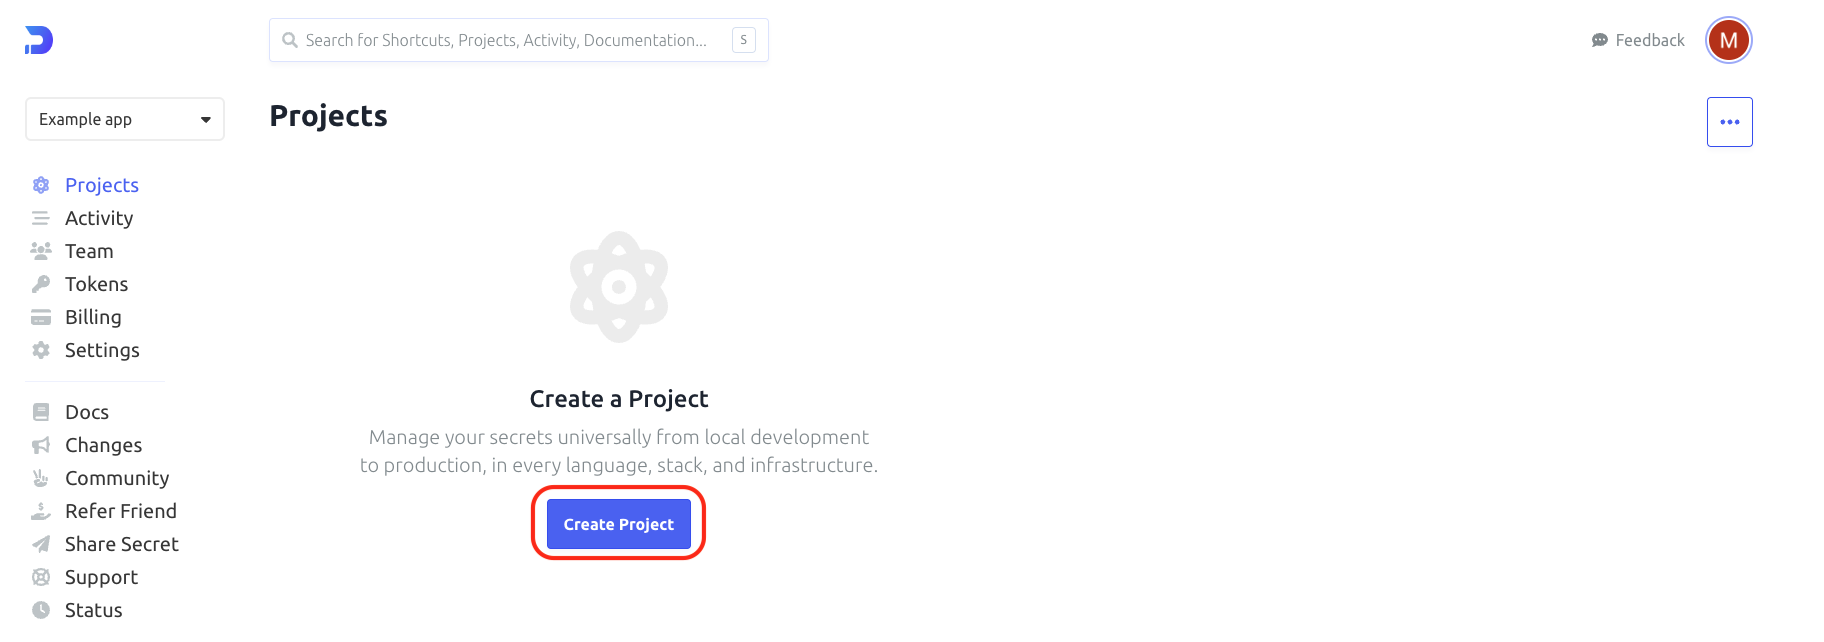
b. Provide project name
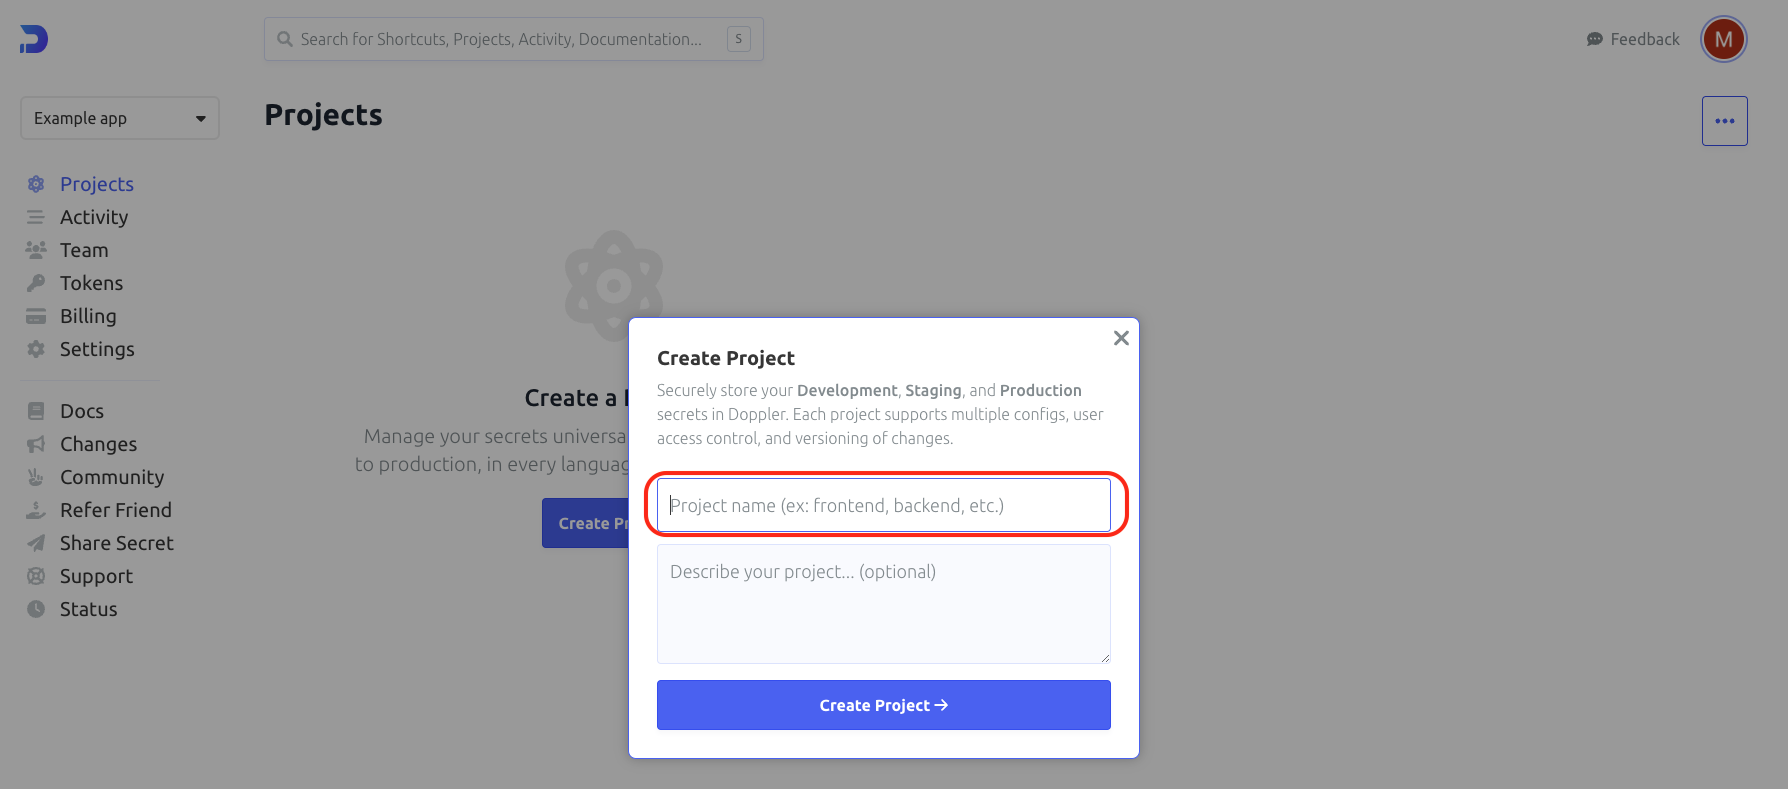
c. Confirm with Create Project → button

4. Adding environment variables.
a. Enter the projects tab, and select a newly created project
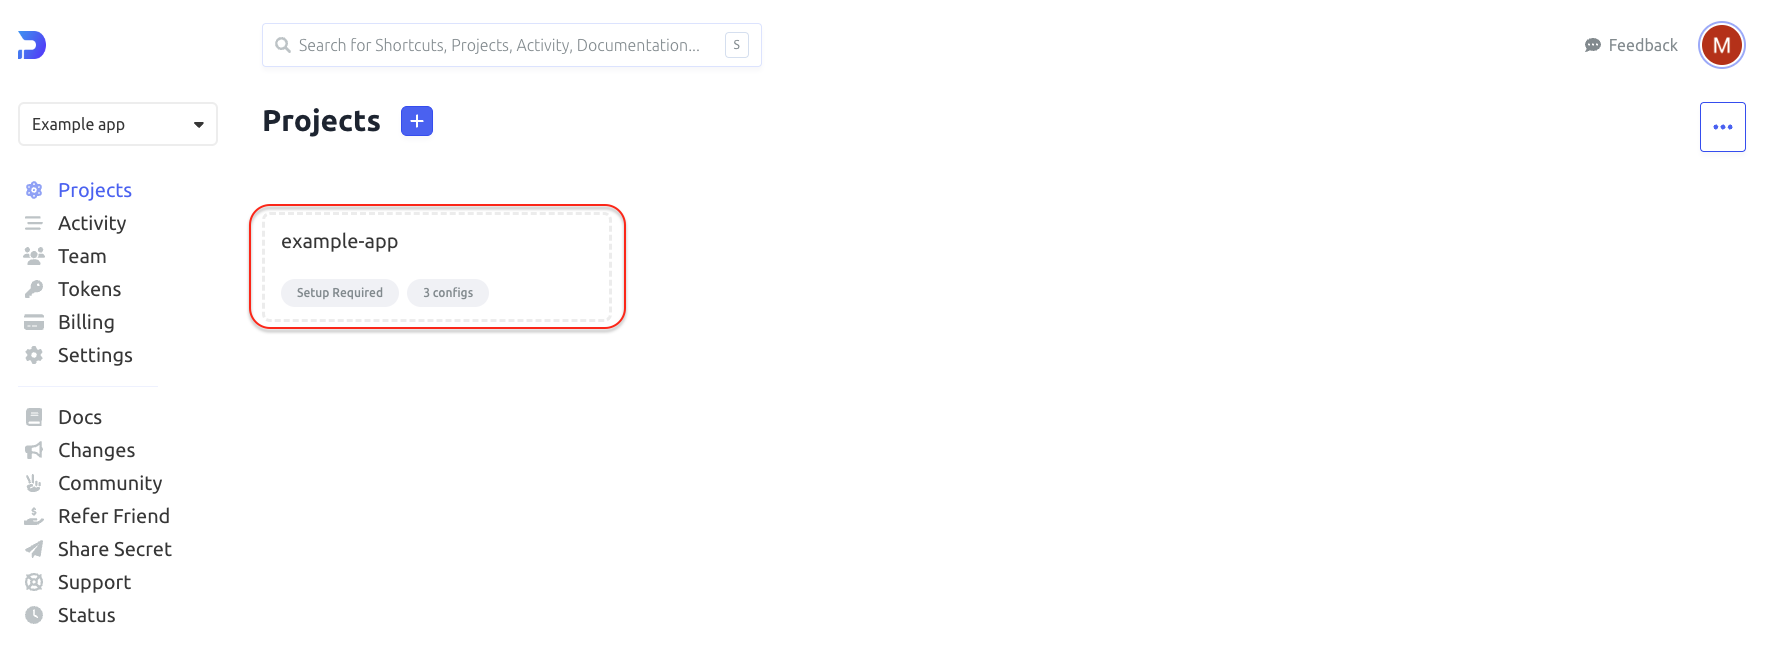
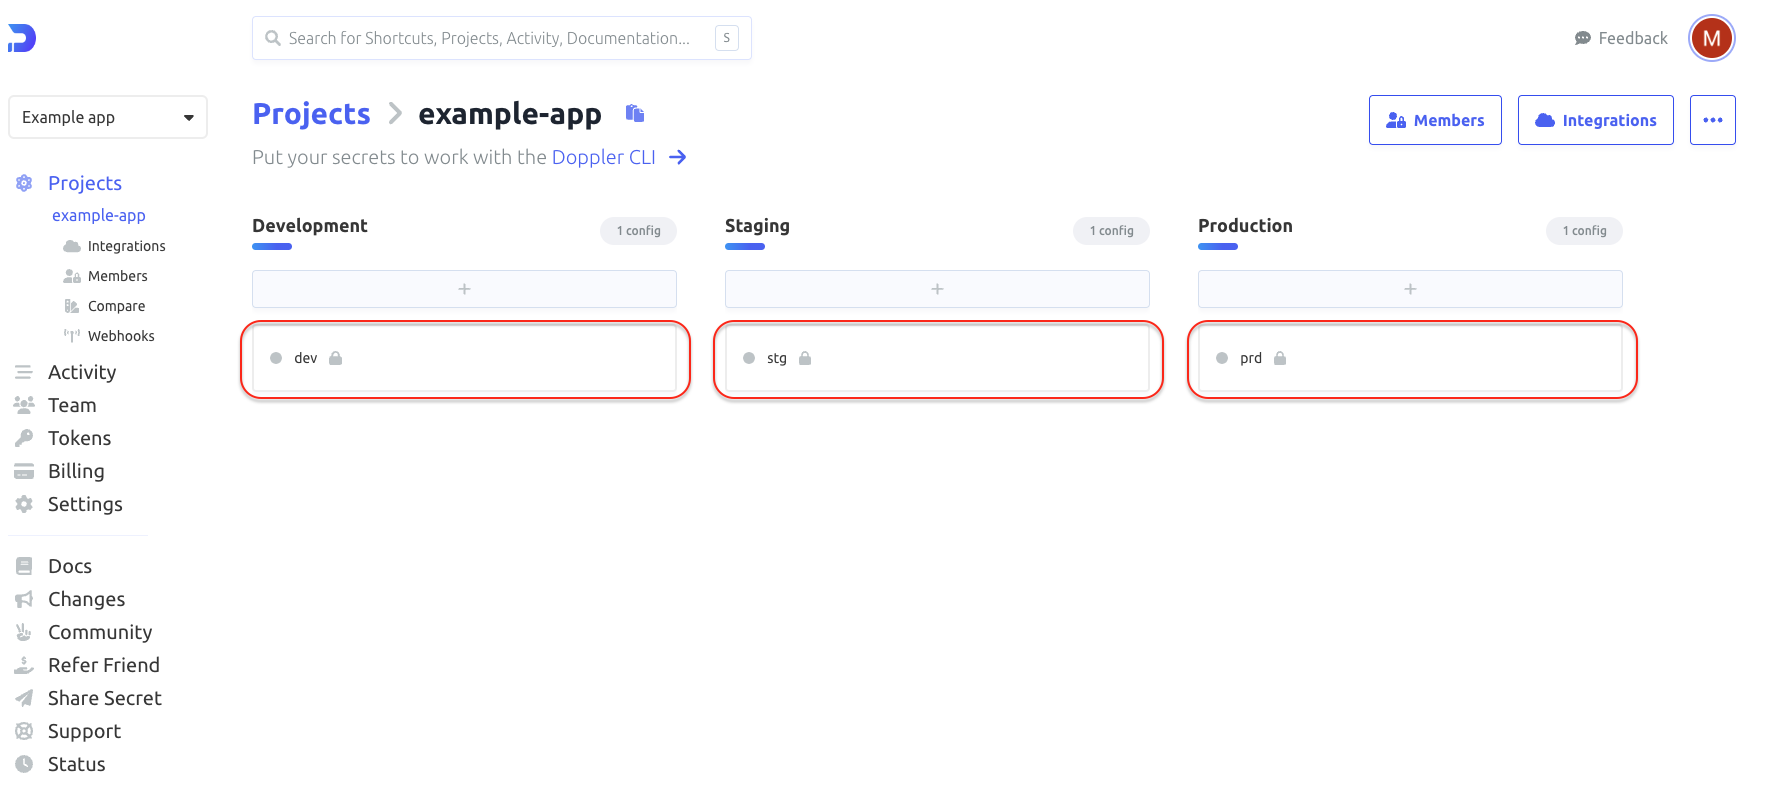
b. Each project consist of three predefined environments - dev, stg and prd. **
Click each of them to enter environment variable page.
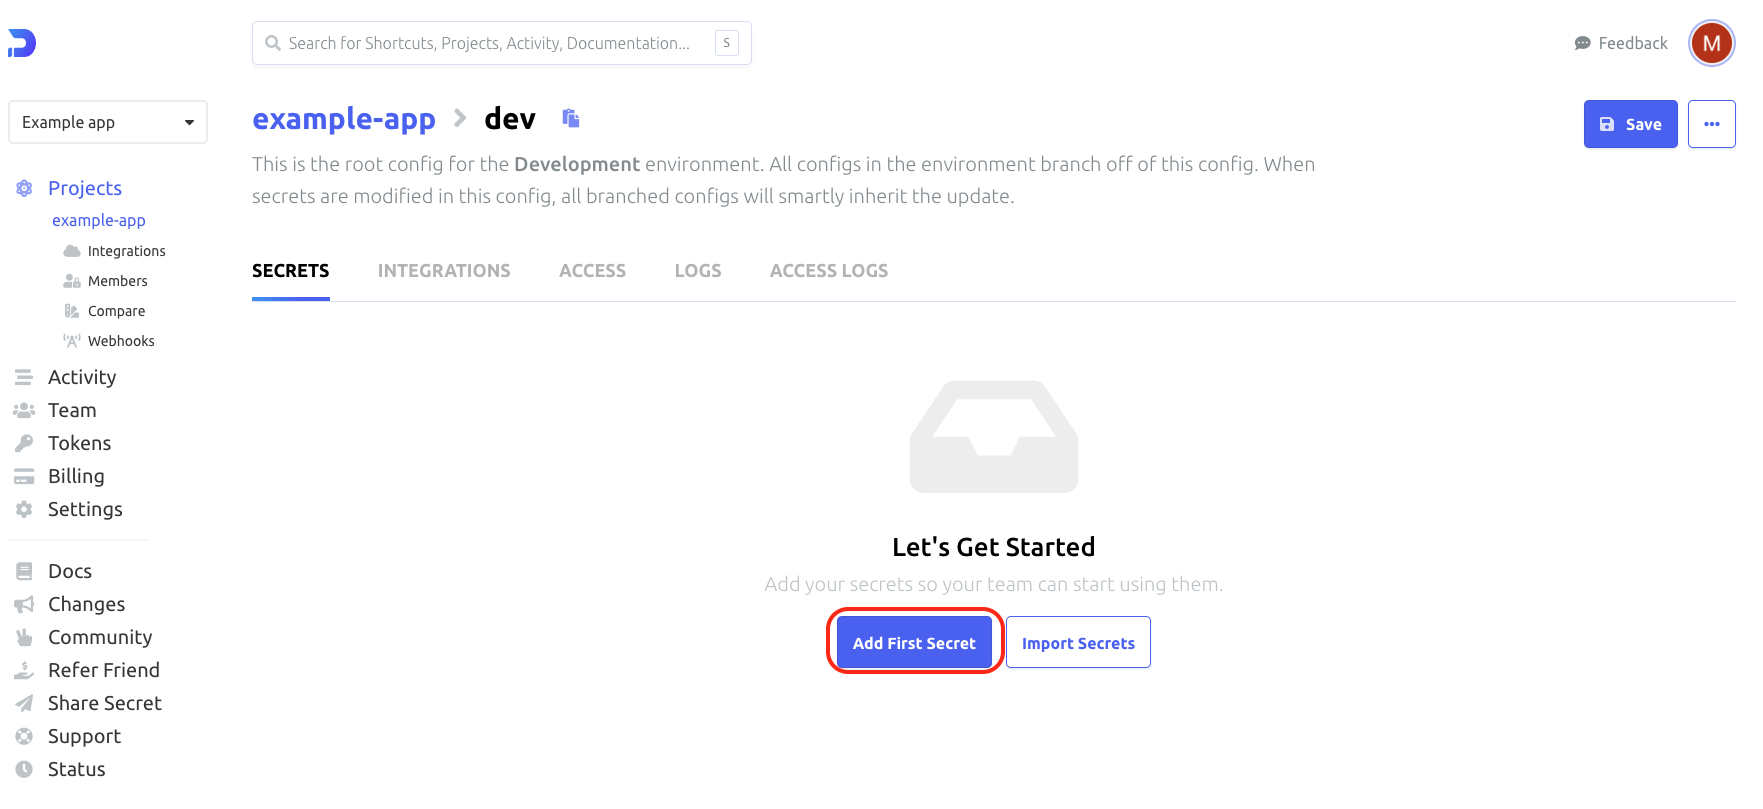
c. To add a new environment variable click on Add first secret
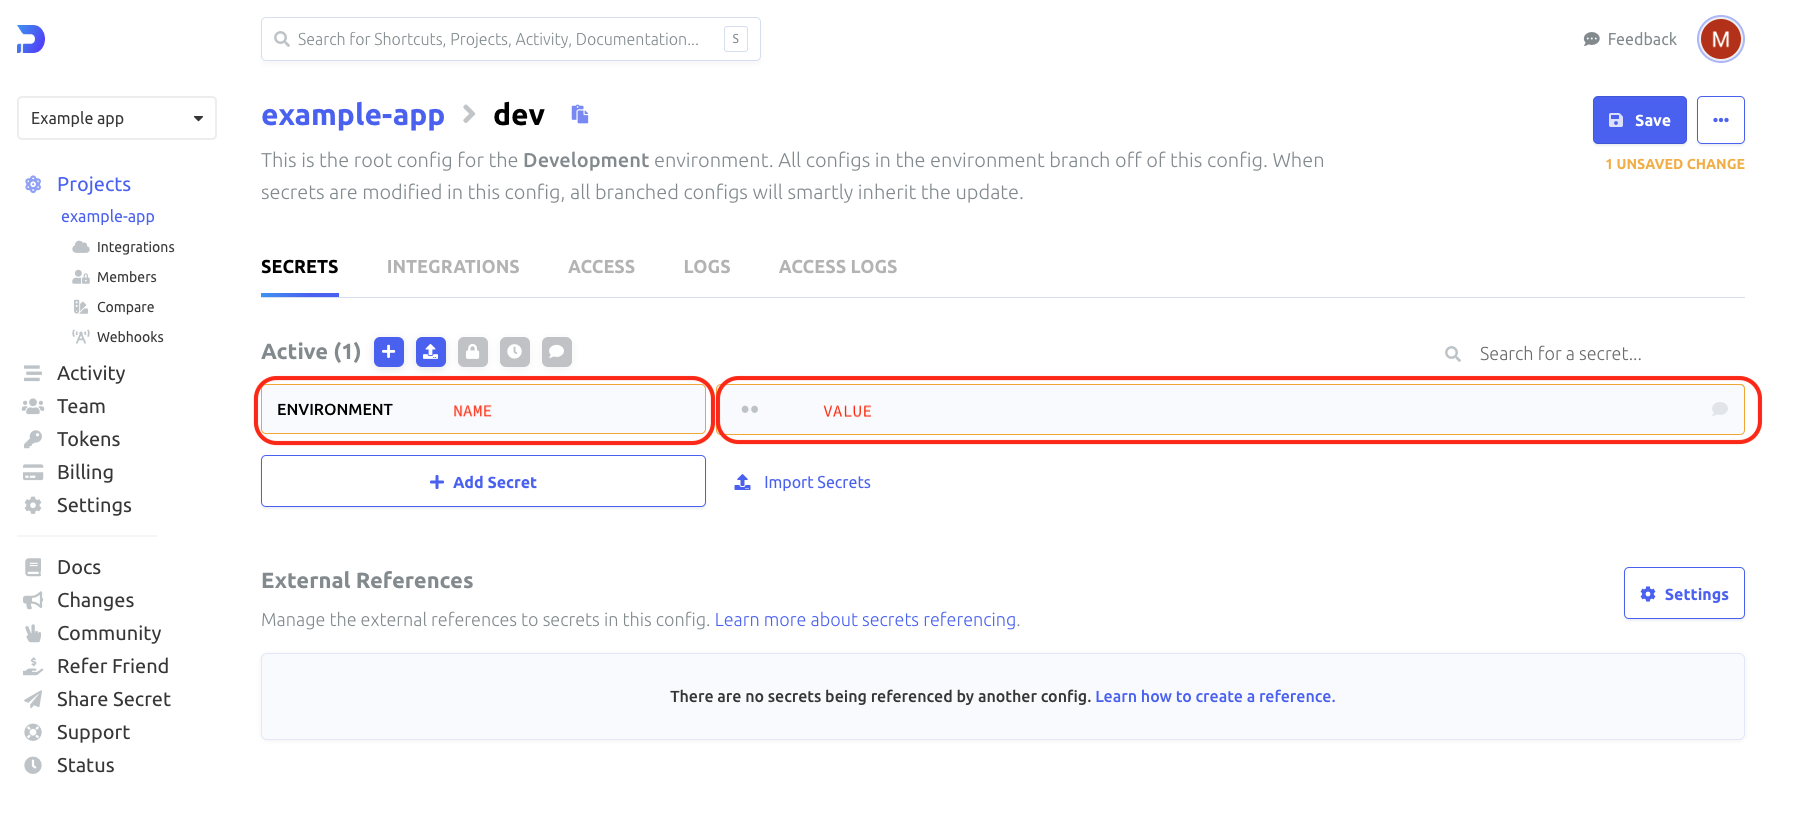
d. Enter the name of the environment variable name and its value into proper inputs: **
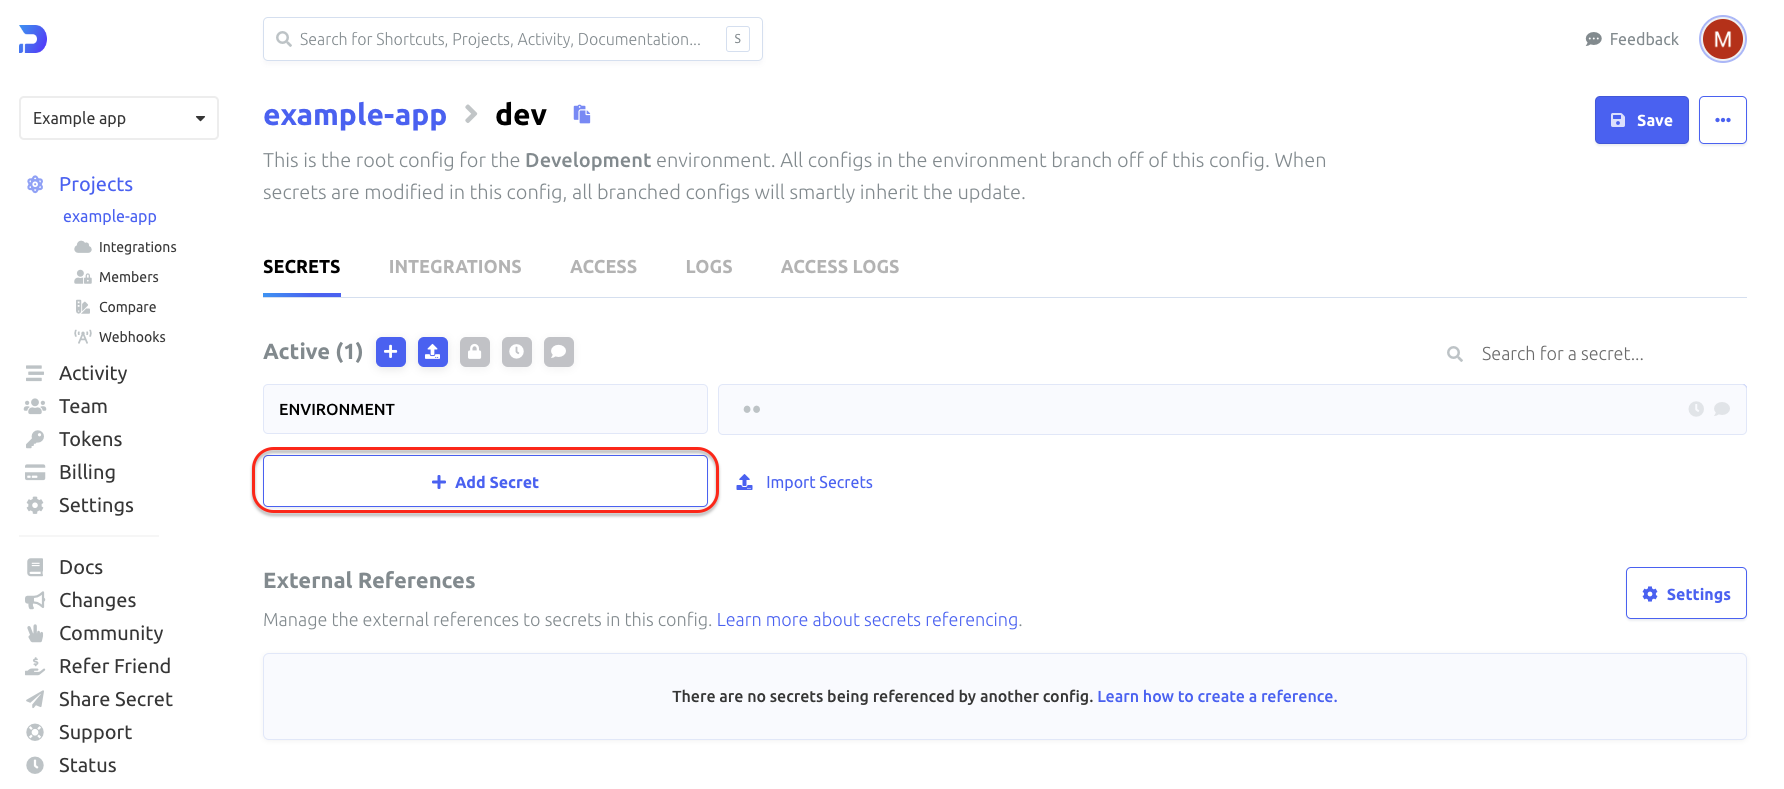
You can add more environment variables by clicking + Add Secret button, and providing names and values.
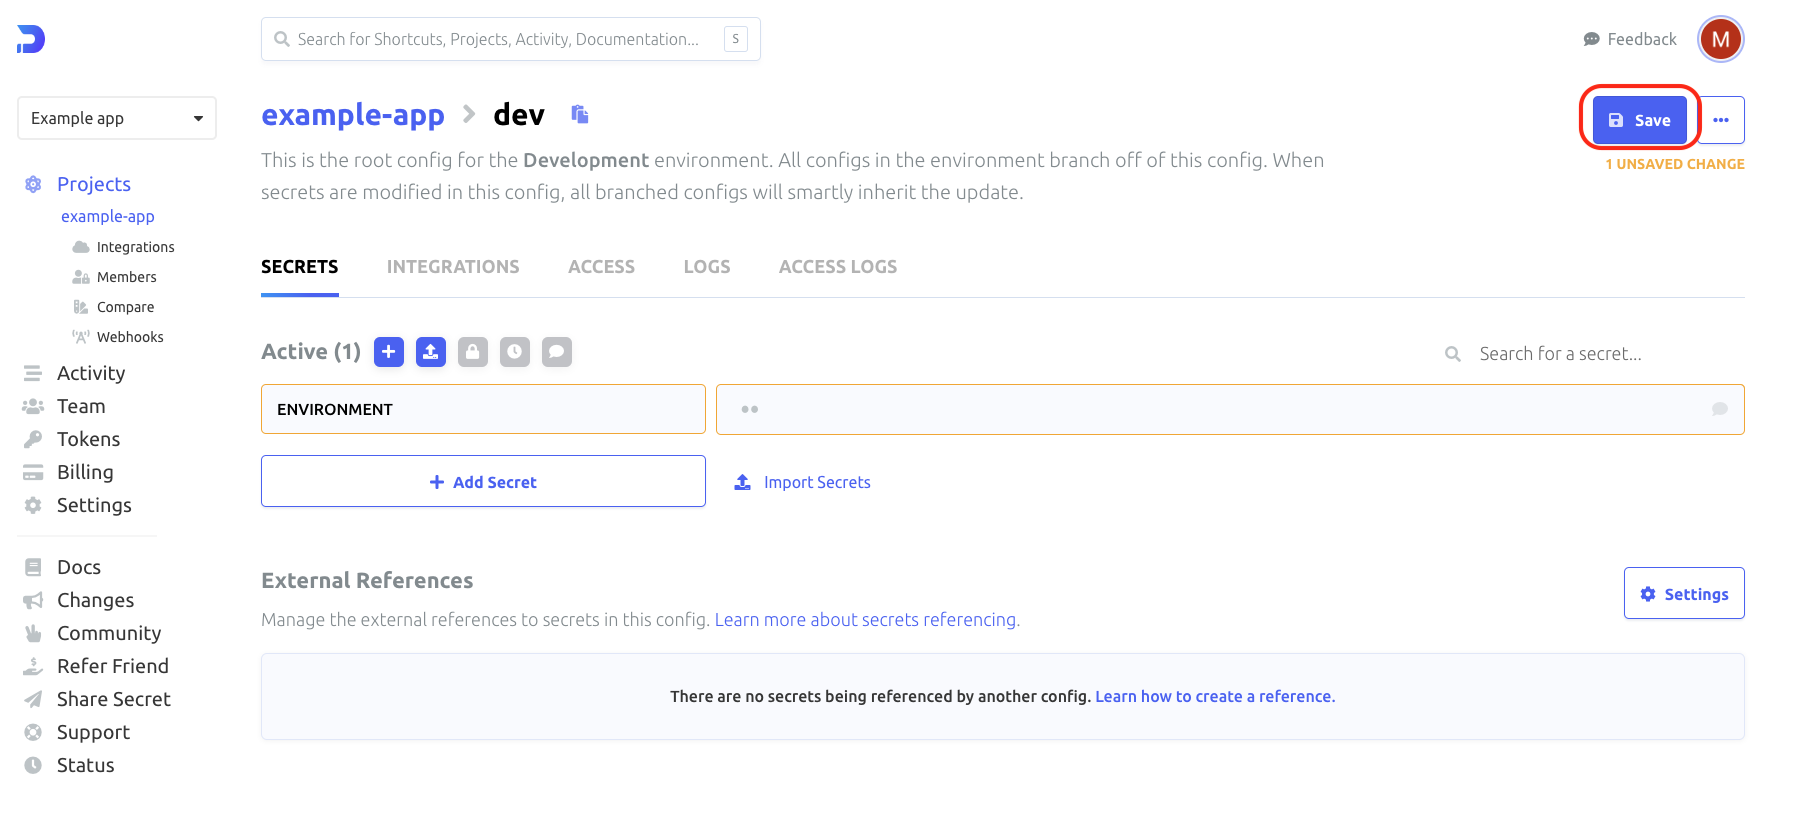
e. Confirm with Save button:
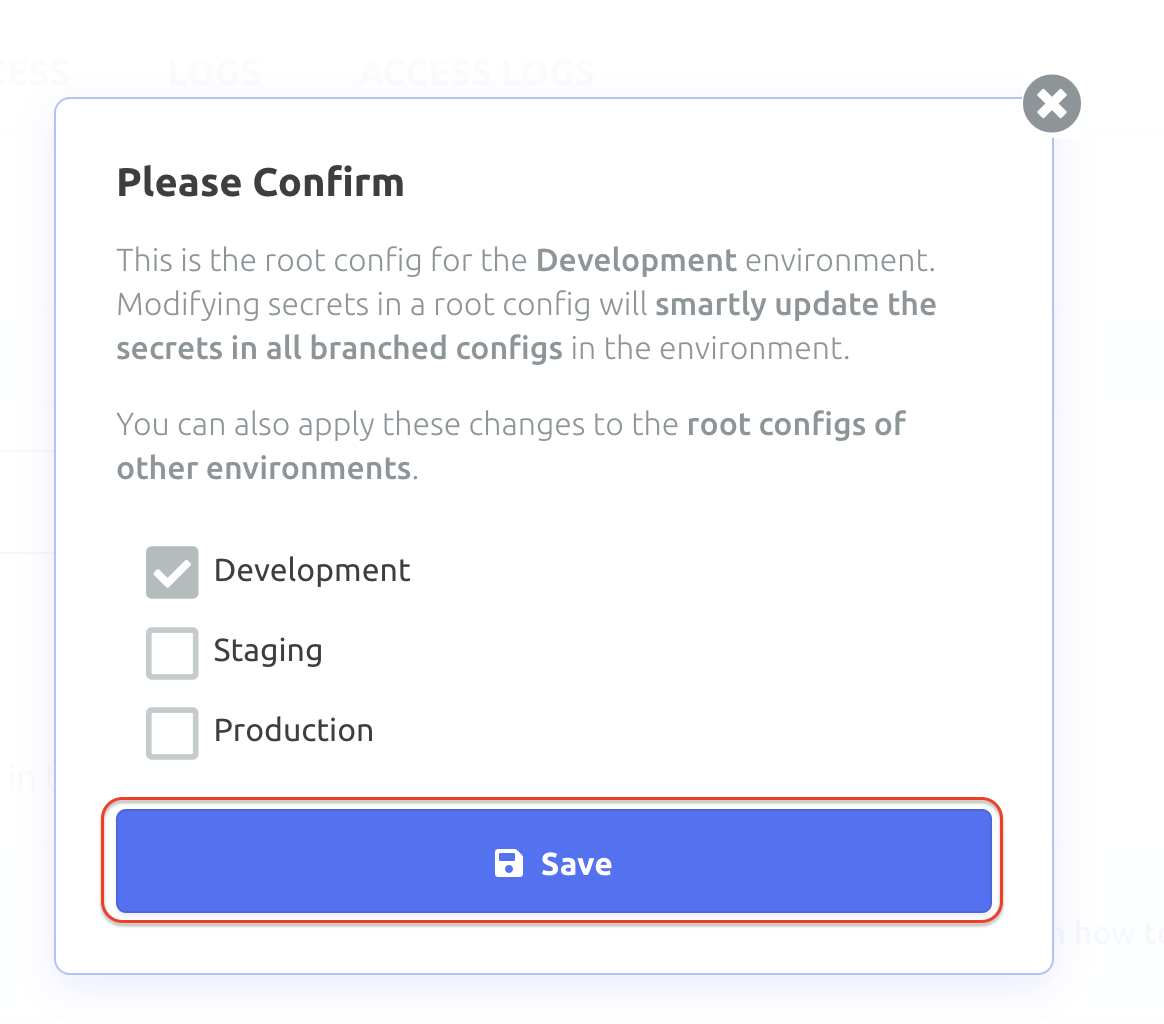
g. Make sure that you have consistent data in each environment. In these step, you can copy newly created variable to the rest environments (select checkboxes). When selected the necessary environments confirm with Save button:
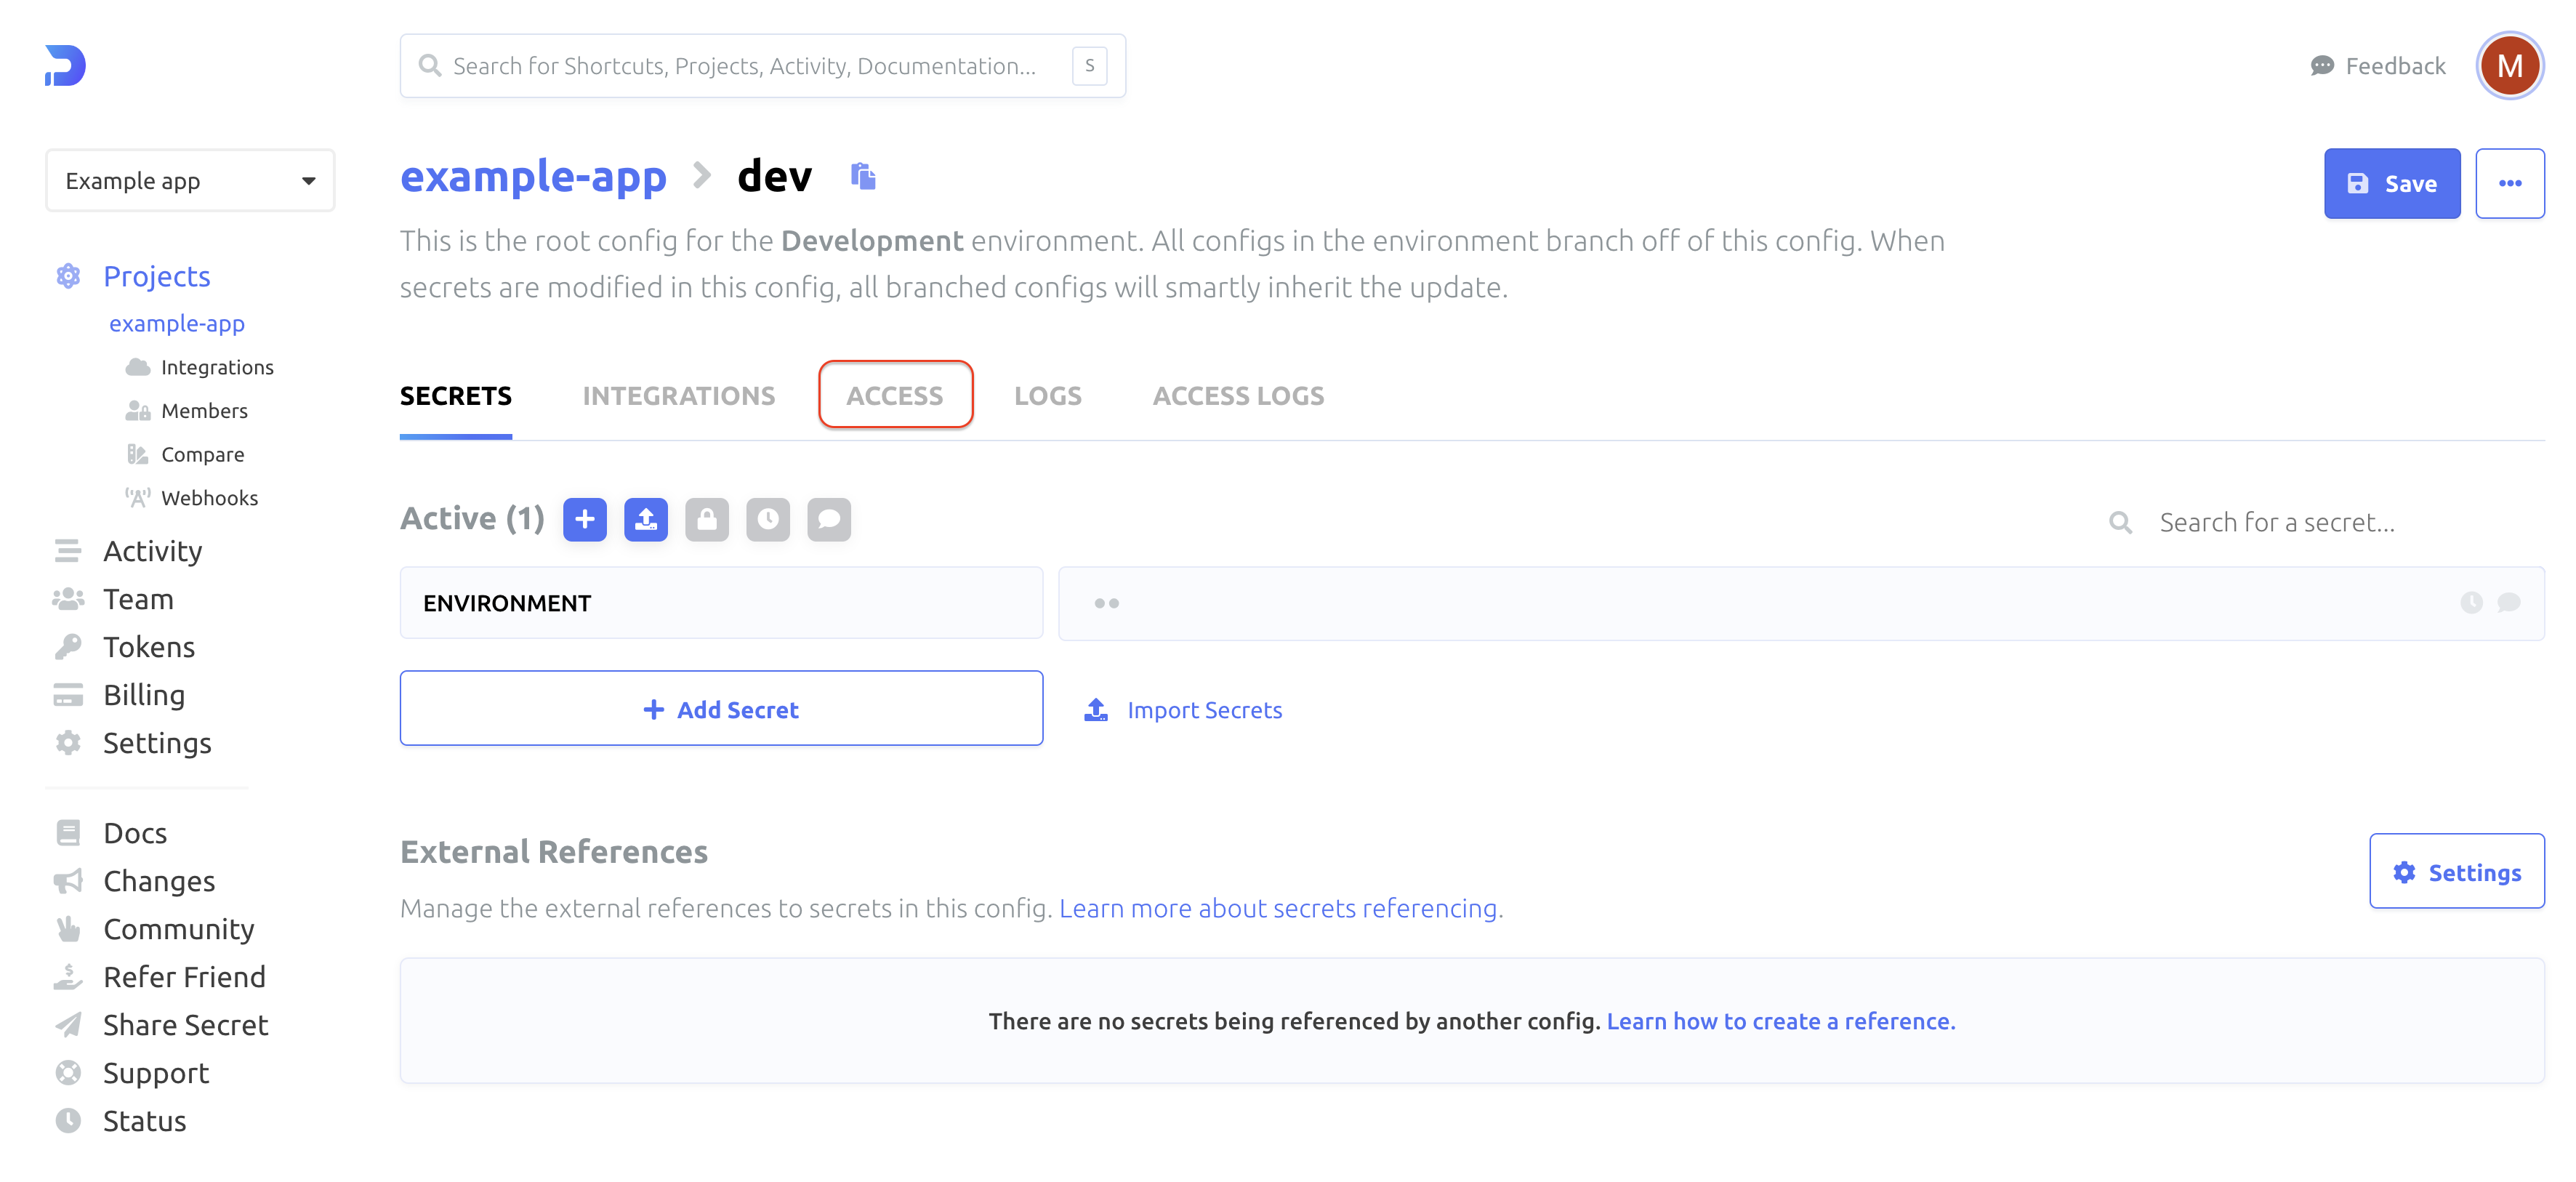
5. Get Access tokens
a. Enter Access tab:
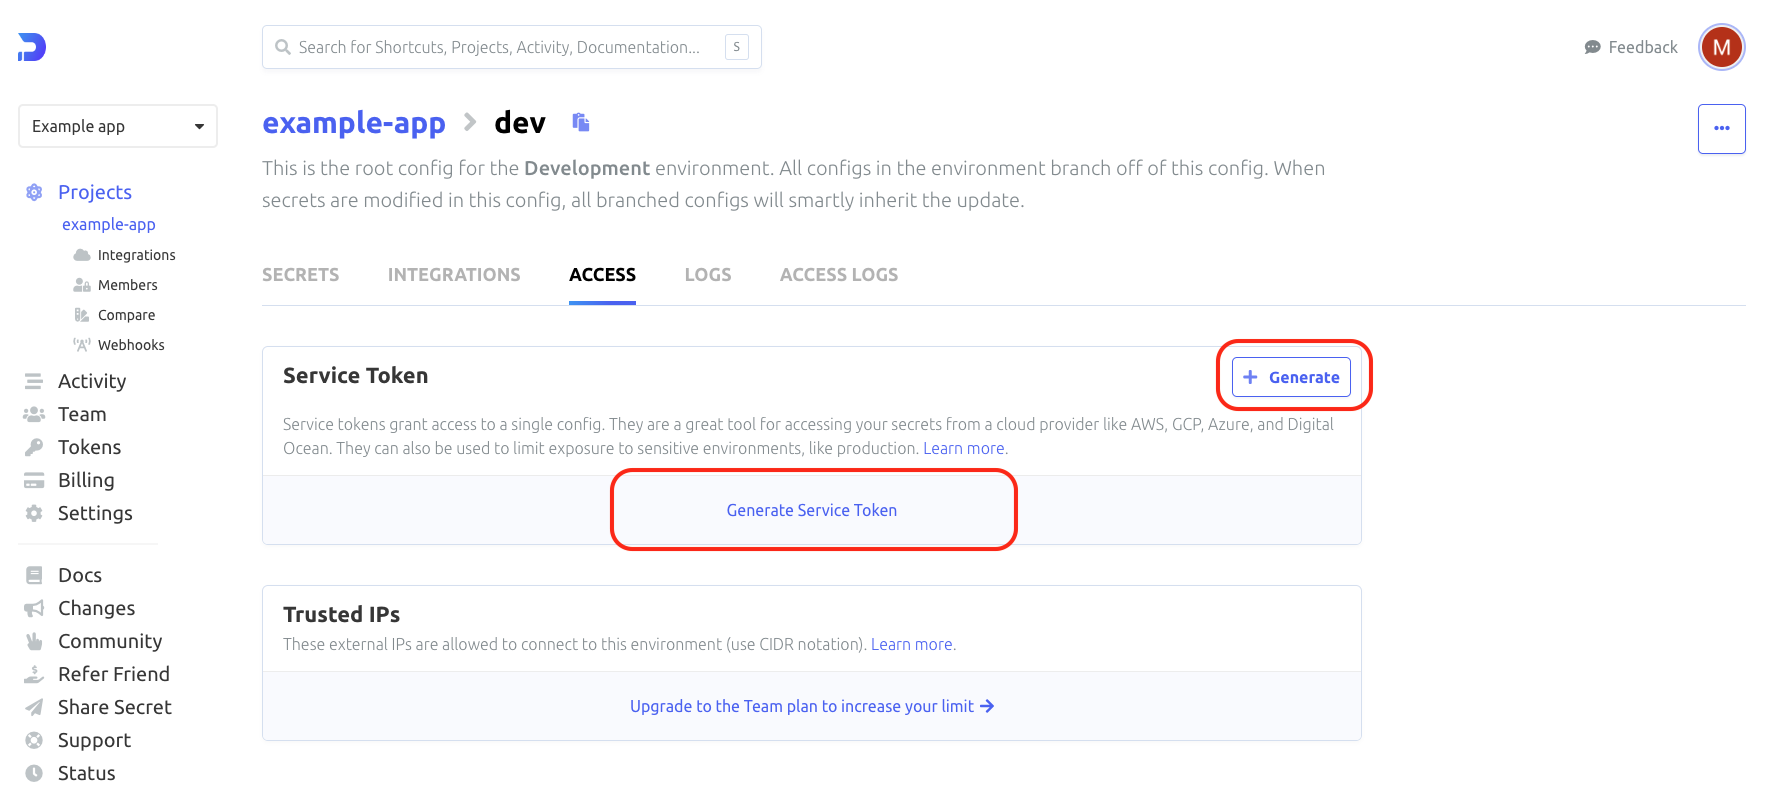
b. In the Access tab you should click on +Generate or Generate Service Token button:
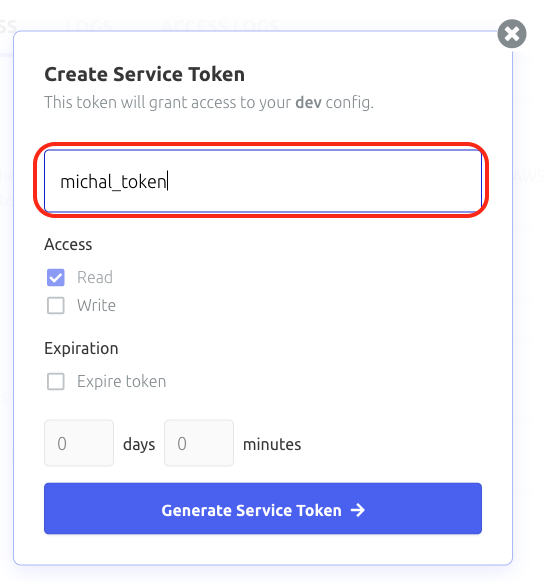
c. Provide some unique name to your personal access token:
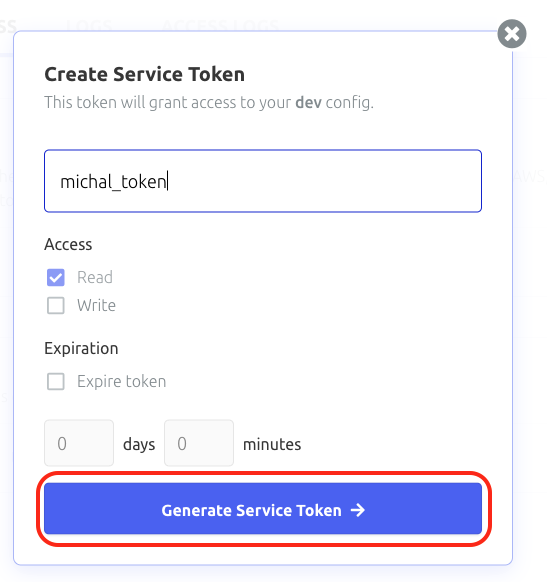
d. And next click Generate Service Token→ button:
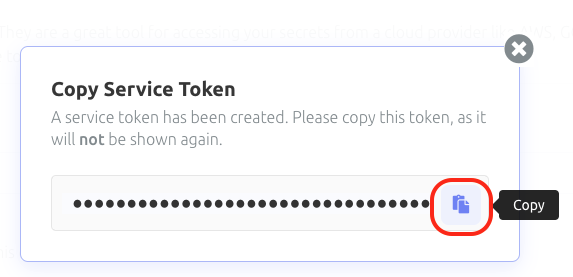
e. Copy your Access Token (Service Token).
Save your Access Token, it will be used later to grant access from the code level. If you do not copy the token, you will need to revoke that token and generate a new one.
Click copy button:
f. To be able to use environment variables for different environments (qa/staging/production) you need to generate an access token for every environment.
6. Place dopler tokens in configuration file
- Create empty file
scripts/doppler_variables.shand add this script to new created file.
- run this command (this will copy template and place it in
scripts/doppler_variables.sh)
yarn prepare:env_file
- Add correct values to variables (ask one of the developers for that), example:
export DOPPLER_TOKEN_DEVELOPMENT=dp.st.alpha.XXXXxxxxXXXXxxxxXXXXxxxx
7. Check if everything works correctly.
In project dir terminal run:
yarn generate:env:(qa/staging/production)
Choose the proper app version depending on the environment for which you want to generate env file.
.env file should be generated and consist of variables passed to Doppler, and some extra doppler
variables as DOPPLER_CONFIG.
CONGRATULATION !! 🥳🥳 You have configured the Doppler tool for your project!
Additionaly you can start the expo server:
- this will start server and generate env variables
yarn start