BOOTSTRAP - start development 🕐
Bootstrap project structure, that is needed to start development
What you need to do to start development?
1. Setup repository
git clone git@github.com:binarapps/baca-react-native-template.git
cd expo-ts-template
Removing git history (not recomended)
- do it only if you don't want to keep history of commits - maybe client doesnt want this
- when you will get rid of git history it could be hard to apply changes made in the starter file
rm -r .git
git init
git commit -m "chore: initialize project"
Other options to setup repository
- Init using this command (beaware that sometimes this template can't be updated on npm, in that case, clone this repository and reinitialize repozitory for yourself - check third type of setup)
npx create-expo-app --template=@binarapps/baca-react-native-template name_of_your_app
- Use this as template repo on GitHub

2. Login / register to expo
If you have expo account → go login with it
If you do not have expo account → register on your company email. In terminal type:
eas register
You will be redirected to expo registration page. If something is not right please make sure you have eas cli installed - npm install -g eas-cli
Login to expo account on your local machine.
- login to expo cli from your project dir terminal. In terminal type:
eas login
-
put your username and password to your account register in step 3.
-
Check if you are correctly log in to your expo account. In terminal type:
eas whoami
3. Create project on expo.dev
a. Sign in to the expo dev console (account created in the first step of repo configuration).
b. Select the proper organization you are working for from a dropdown:
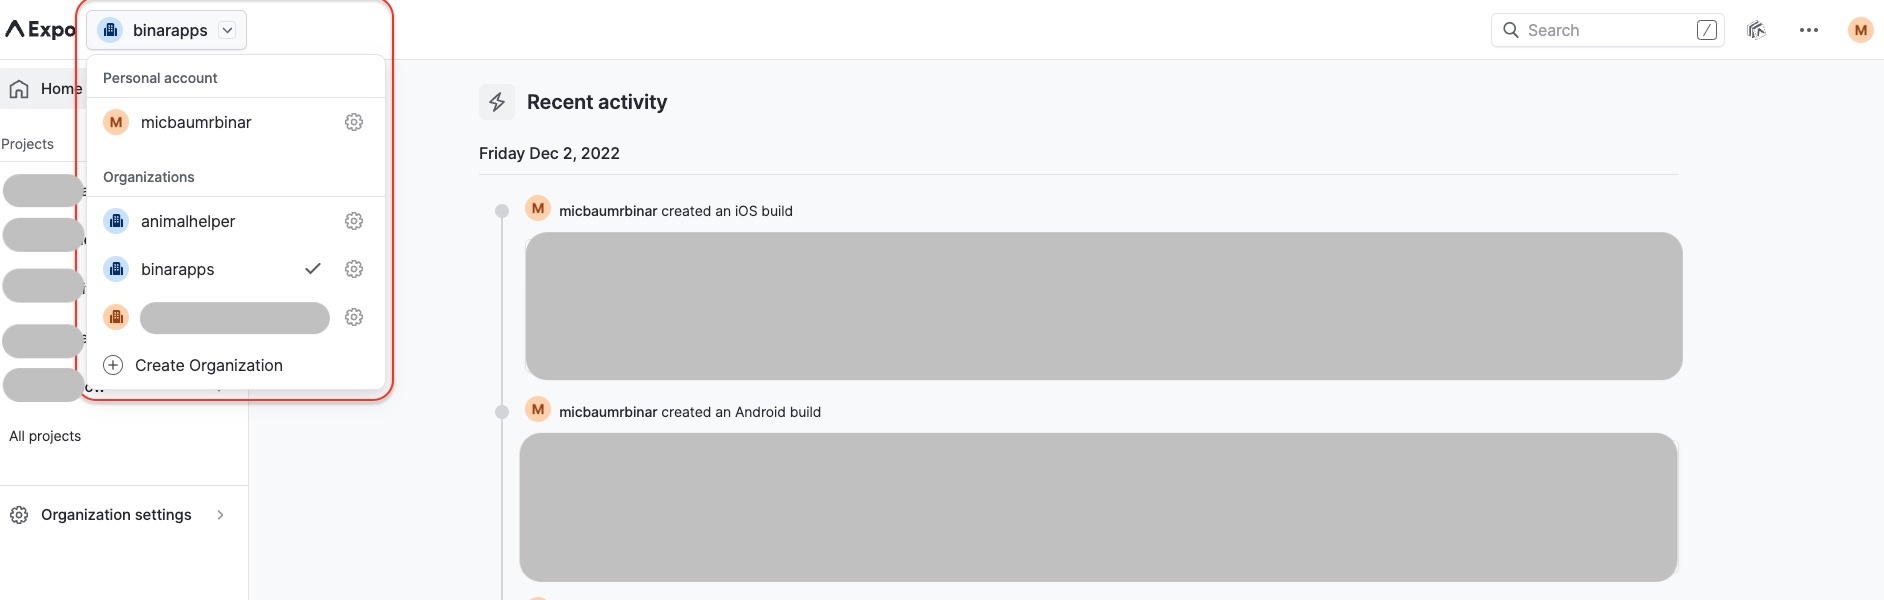
Ideally, it will be an organization created by the client (especially for production builds), to easily pass access after the end of development.
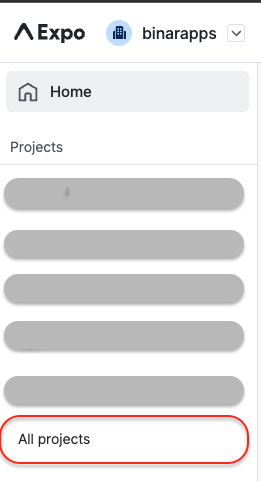
c. Create a new Project in the organization.
I. From the sidebar menu click All projects button:
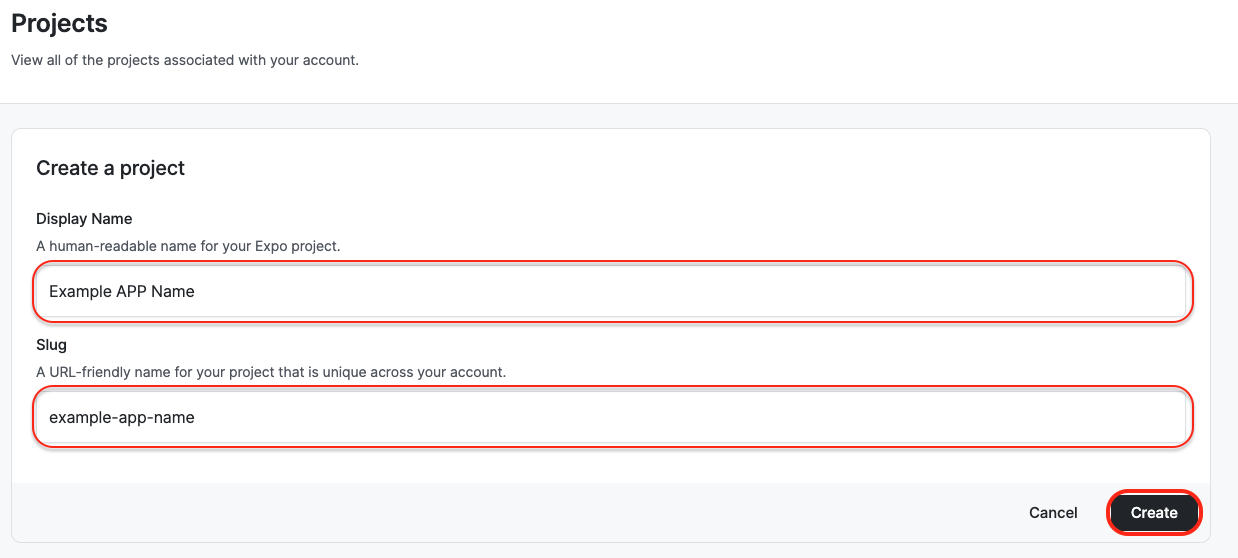
II. On the page with the list of projects click +New Project button:

III. Apply display name and slug of your project.
Display name is a name that will be visible in the Expo Dev Console.
Slug is the name that will link your Expo application with your code.
4.Sync project with code.
Synchronize the newly created Expo Project to your app.
In app.json file please insert the following:
- slug name - created in 1-st point.
- owner - organization picked from the list in 1-st point
{
  "expo": {
    "owner": "your_organization_name",
    "slug": "example-app-name"
  }
}